
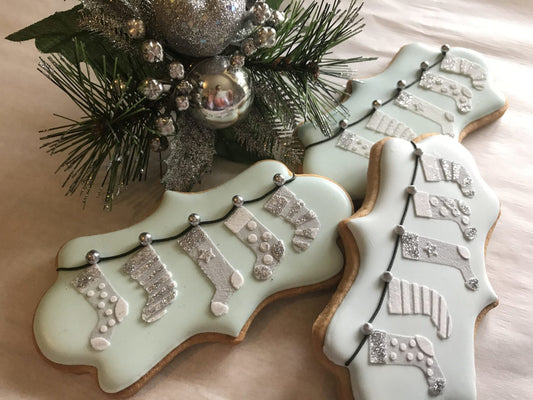
How to stencil a cookie
Stencilling a biscuit is really as easy as it looks. I have been icing biscuits for years now and I fell in love with the idea of stencilling. Stencils create a perfect uniform look and save me so much time.
ICED BISCUIT – You’ll need a 100% dried iced biscuit when stencilling with royal icing as you push down on the iced biscuit.

STENCILS – The Biscuit Studio stencils are not like stencils found in a craft shop, the plastic is the perfect thickness to prevent the plastic turning up or breaking from continuously scrapping icing across the design. All stencils are 15cm x 15cm, the image is thoughtfully placed on the stencil so that the stencil can be secured with the magnets and still have room to scrap the icing across it. All the stencil designs are measured to fit the biscuit cutters in my range. Which are available to purchase in our online shop.

CONSISTENCY – The stencil consistency of your icing needs to be thickish but not dry. I take my icing straight from the mixer (stiff to soft peak), add some gel colour and then if it looks too dry I add a drop of water at a time. (literally a drop) If your icing is too dry (thick) it won’t spread easily.

HOW TO STENCIL – When stencilling you almost need a third hand to help hold the stencil in place, any movement while stencilling will smudge your image or writing.
I use a metal board and magnets to secure the stencil. The magnets I sell are a specific height, 2 magnets on top of one another are pretty much the same height as an iced biscuit. This makes sure your stencil is absolutely flat against your dried iced biscuit, to again prevent any smudging. 
Secure your stencil onto the top of the iced biscuit where you want your design to go, the plastic is clear enough to see through it. If your biscuit is not snug against the stencil, place a bit of kitchen roll under your biscuit to lift it against the stencil.
Place a blob of icing on the stencil and scrap it across, until the whole image is covered, smooth it over. The icing doesn’t need to be thicker than the depth of the stencil; otherwise, you’ll leave peaks in the icing when you lift off the stencil. However, be sure to apply enough icing so you can’t see through it.
Important: Do not move the stencil while applying the icing, or the resulting pattern will be smudged.


Lift the stencil carefully and steadily off the biscuit.


So easy, if you would like to order stencils, please go to the stencil section on my website, pop the designs you want in the shopping cart and we’ll courier them to you. To purchase the Happy Birthday stencil click HERE
If you have any further questions on stencilling biscuits, please drop me an email.
Ashleigh
Tags:
Related articles
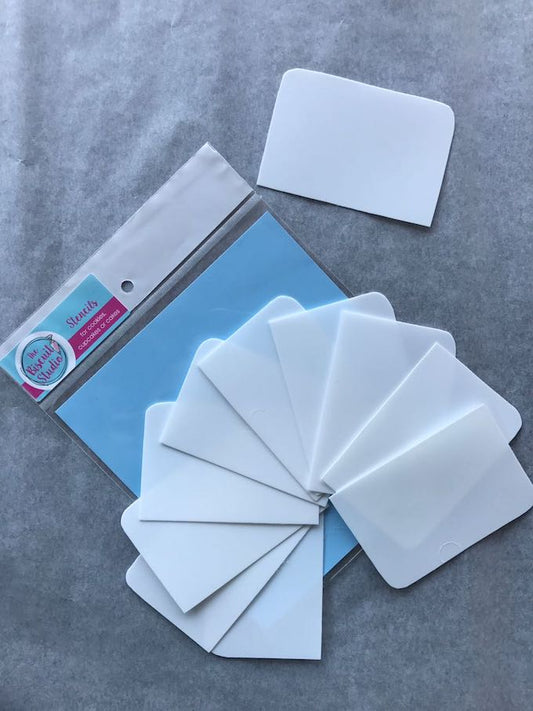
DIY scraper for stencilling iced cookies
Jan 15 2021
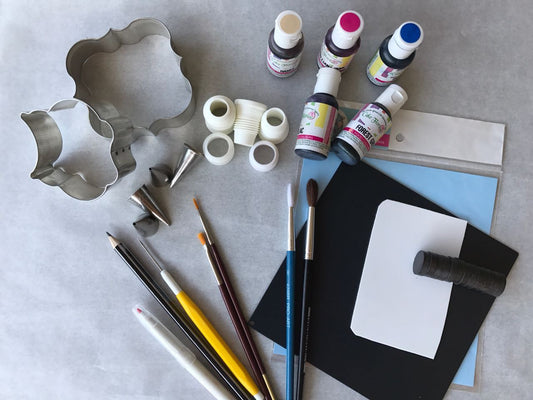
Supplies for biscuit icing
Feb 14 2018
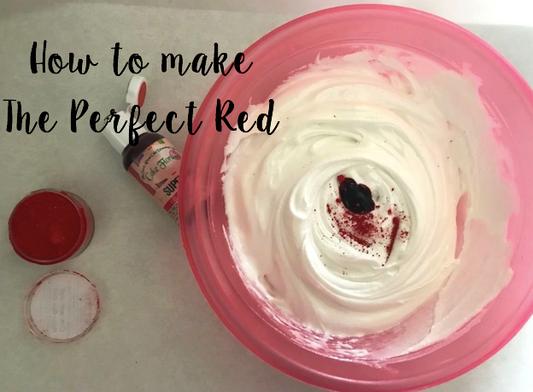
How To Make the Perfect Red
Dec 04 2017

How to make an Emoji face iced cookie
Oct 17 2017